Configuring SPF and DKIM for Google Workspace
*Please ensure you don't have these records in place before adding anything. Check to see if you already have a DKIM under your Google Workspace DNS records. The Host Name will be google._domainkey. If you do, please reach out to us and we can work through next steps.
We know that getting your DNS settings configured can sound confusing, but we've created a step by step guide that hopefully makes the process much less daunting.
First we'll go over adding the DKIM key. DKIM is a way of authenticating your email to ensure it hasn't been altered in transit (and is indeed coming from you).
DKIM (DomainKeys Identified Mail)
- Make sure you are signed in as an administrator for Google (admin.google.com)
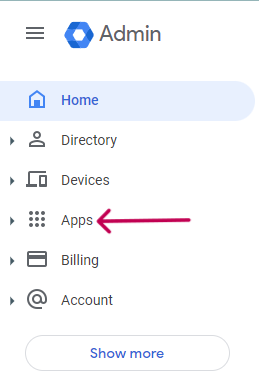
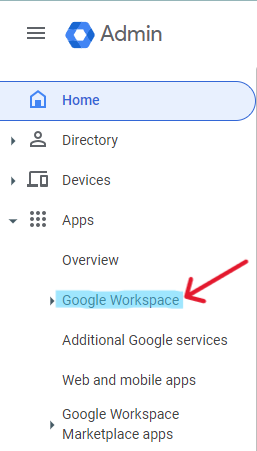
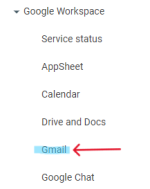
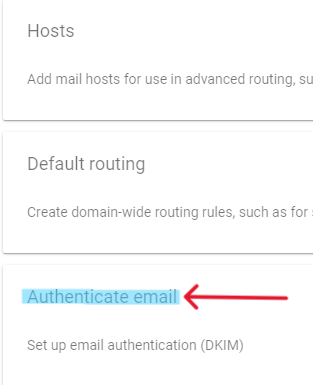
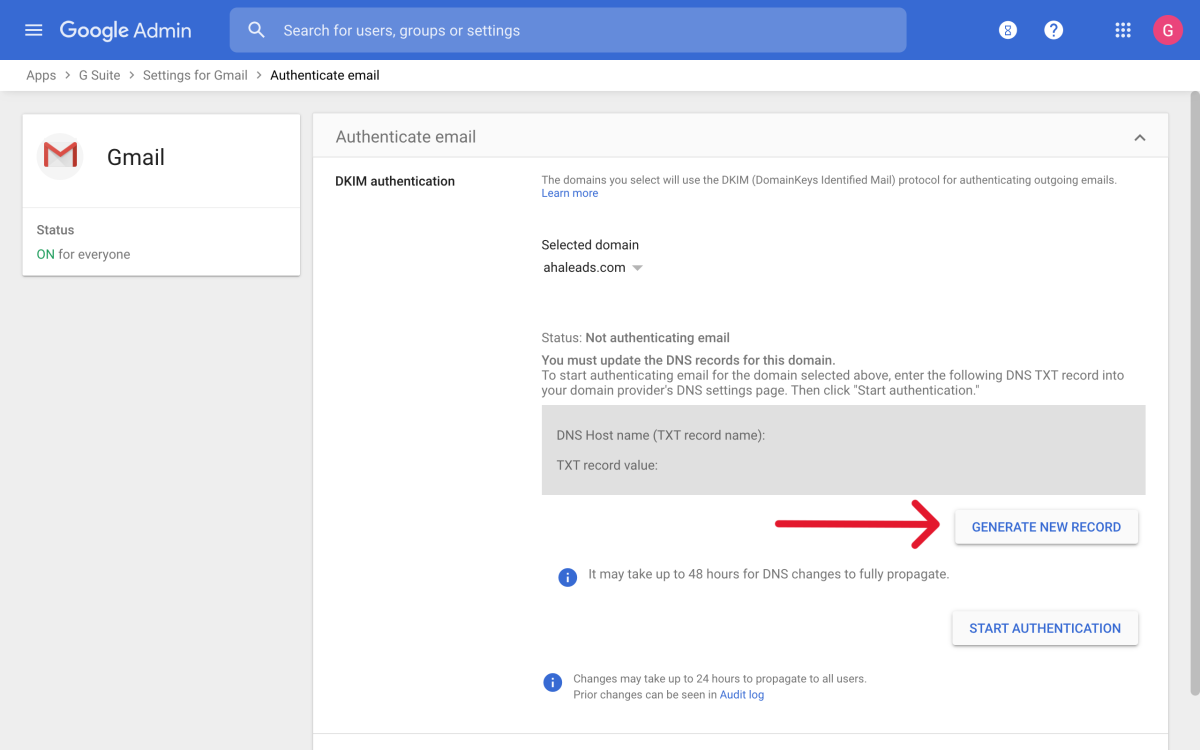
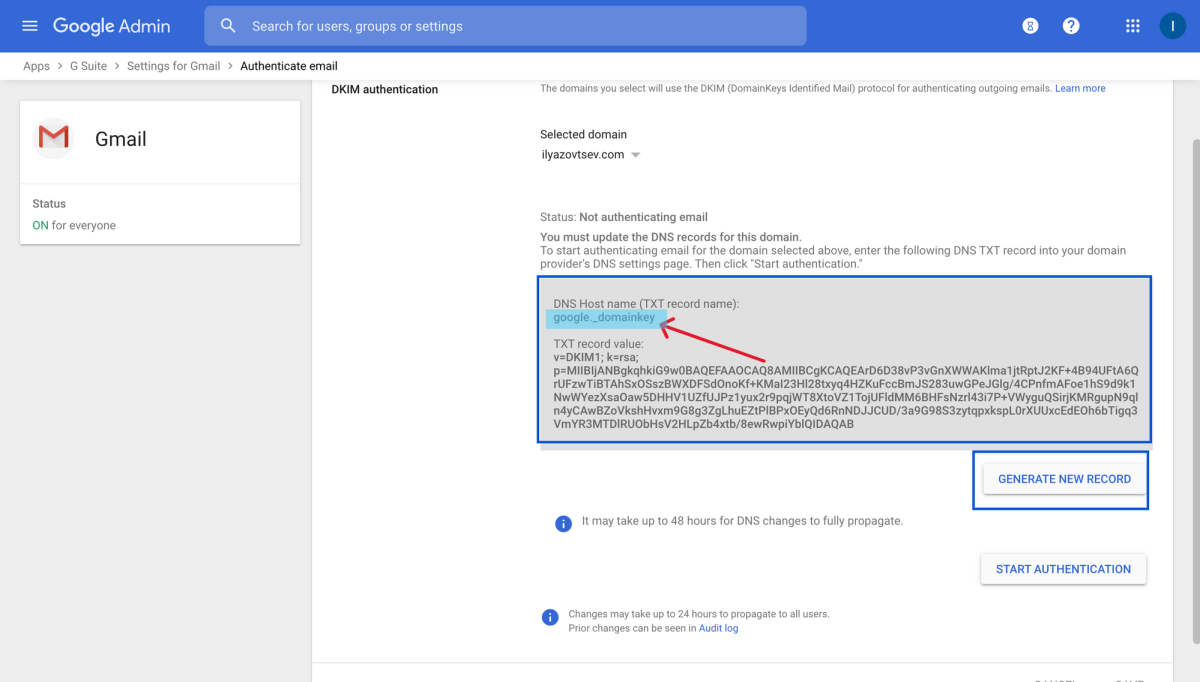
- Click "Apps" on the left hand side→Google Workspace→Gmail→Authenticate email
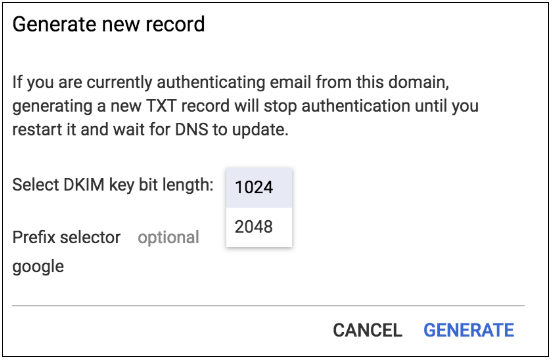
- Click "Generate New Record" and select "2048"
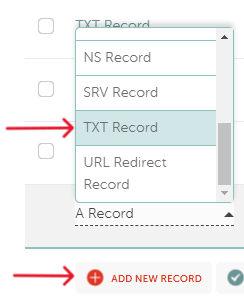
- Login to your domain provider and add a TXT record for your DKIM
- Copy the "DNS host name (TXT Record Name)" and paste into the "Host" field
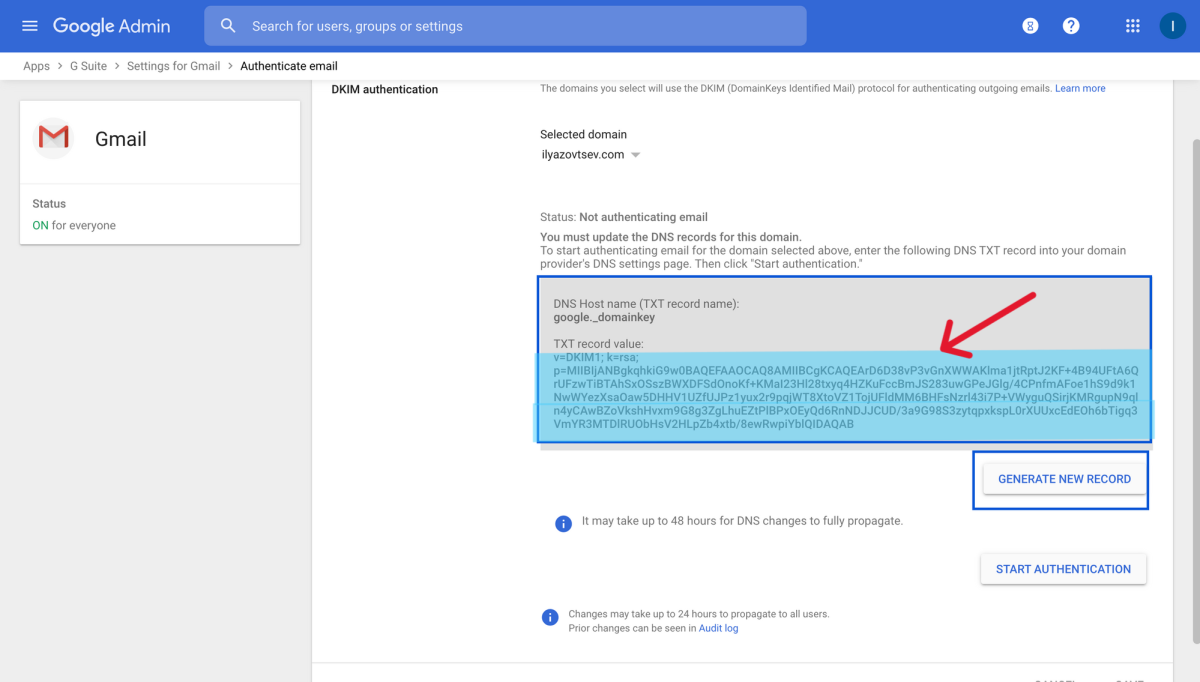
- Copy the generated DKIM and paste into the "Value" field
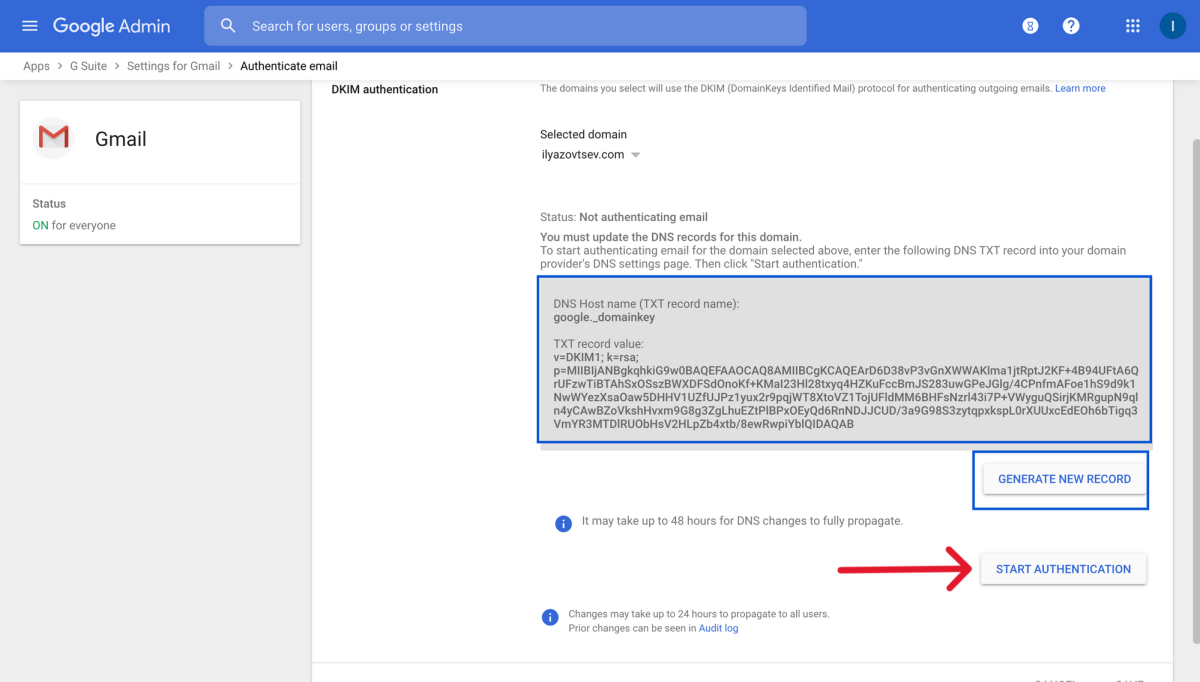
- Save changes and click "Start Authentication"


SPF (Sender Policy Framework)
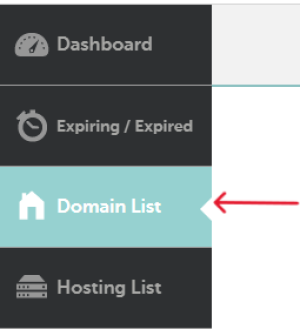
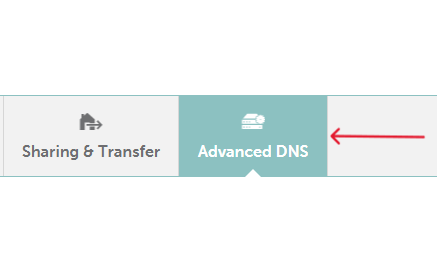
- Go to your domain provider's Advanced DNS settings
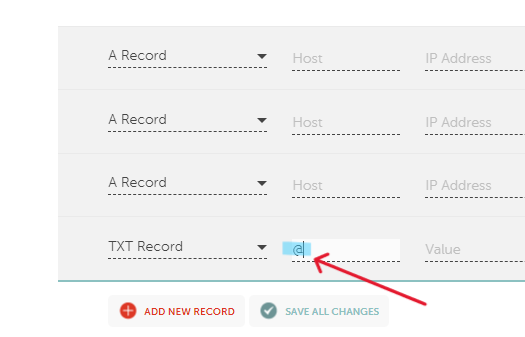
- Add a new TXT record
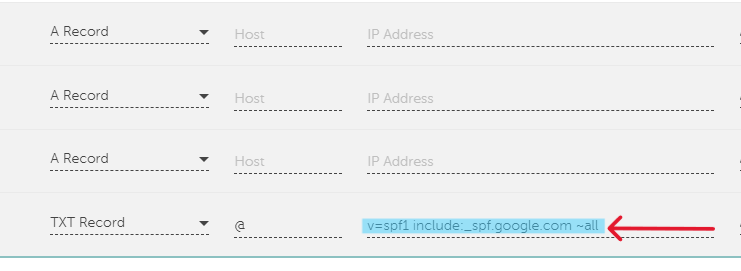
- In the "Host" field, input "@"
- In the "Value" field, paste: v=spf1 include:_spf.google.com ~all
- Save your changes
If you run into any issues, or need help with the walkthrough, please book a meeting with us HERE.